Radiator valve caps are an important part of your home’s heating and cooling system. They help regulate the flow of water and steam through the radiator and help keep the system running efficiently. If your valve caps are old or damaged, it’s important to replace them as soon as possible.
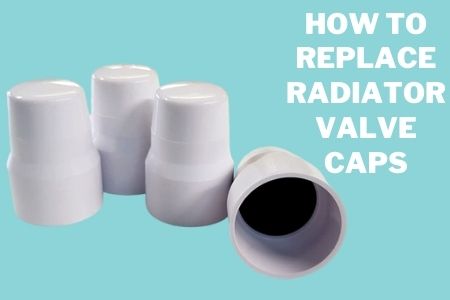
Here’s a guide on how to do just that.
The valve cap on a radiator regulates this flow of steam and helps keep the system running efficiently. If your valves are old, damaged or worn out, replacing them will improve the way your entire heating system functions.
Below is a quick look at the 3 cheapest options you can get.
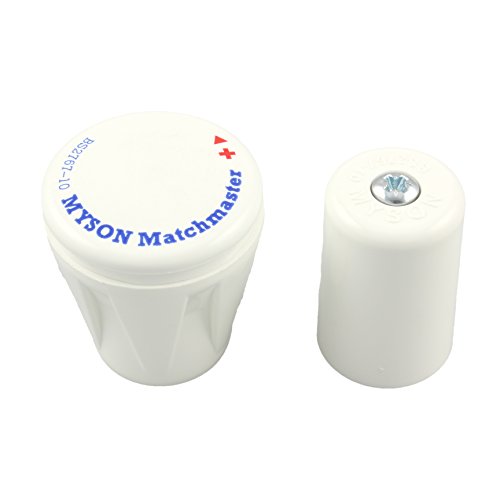


Last update on 2024-04-05 / Images from Amazon Product Advertising API
Step 1 – Shut off Heating & Allow Radiators Cool
Before replacing any radiator valve caps, you’ll need to turn off your central heating system.
Next, wait until the radiators have cooled down before removing any of the caps. Valve caps can be very hot and cause serious burns or injury if they contact human skin or flesh while they are still hot.
Step 2 – Protect the Floor Area
You’ll then need to place something down to protect it. A thick towel or piece of cardboard will work fine. This will help prevent staining and damage to your floor area when performing this task.
Step 3 – Remove Old Caps
Now that your radiator valves have cooled completely, you can begin to remove their old radiator valve caps by gently prying them at opposite ends with a small flat-blade screwdriver
Removing the old radiator valve caps can be very simple as long as you’re careful not to damage them. If you feel that they might break when removing them, stop and call a professional instead.
Step 4 – Prepare Caps for Installation
Before placing any new radiator caps onto your radiators, make sure you remove all dirt and debris from their bases first. After doing this, wipe down their outer surfaces with a damp cloth or sponge to rid them of any fingerprints or smudges
Just make sure it fits well before replacing it on top of your radiator.
Step 5 – Install New Valve Caps
With the old radiator valve caps completely removed, check to see if the holes are clear. This way you’ll know if there is any blockage before fitting your new radiator caps
After making sure everything is in order, place the new valve caps on top of each radiator with their very small opening pointing upward. Be aware that most valves have a right side up and a wrong side up indicated.
You then just need to place the new cap on top of each radiator, making sure it is a tight fit.
Step 6 – Turn Heating Back On
Finally, once you’ve finished replacing your radiator valve caps, turn the heating system back on. This way, each radiator will rise to its set temperature and you can check that you installed your radiator valve caps properly.
Last update on 2024-04-05 / Images from Amazon Product Advertising API
Are radiator valve caps universal?
If you’re like most people, you probably think that radiator valve caps are universal. However, this isn’t always the case.
In fact, there a few different types of radiator valve caps out there, and each one is designed for a specific type of radiator.
If you’re not sure which type of cap your radiator needs, keep reading to find out more about the different types and how to choose the right one.
The universal size for radiator valve caps is 15mm. This is the most common size for radiator valve caps as most radiator pipes are in supplied in 15mm sizes.
Some other sizes you might encounter can range from 10mm to 28mm but you’ll need an adapter for this, not just a larger size cap.
What are the different types of radiator valves?
Knowing the different types of radiator valves can help you troubleshoot problems and make repairs.
Every system is different, so determining which type is right for your house can be complicated.
The six most popular types of radiator valves are
- Thermostatic Radiator
- Traditional Radiator
- Straight Radiator
- Modern Radiator
- Angled Radiator
- Corner Radiator Valve.
You’ll need to decide which one best fits your needs in terms of design and cost. Then you can choose the right valve for your radiator and you’ll be on your way to a home that is efficiently and beautifully heated.
What happens if you have a bad radiator cap?
Radiator caps are an important part of your vehicle’s cooling system.
A bad radiator cap can lead to air entering your heating system. This can then result in knocks and bangs each time you switch your heating on.
It can also lead to the following issues if care is not taken –
- Corrosion and rusting of your radiator and pipes,
- Possible leaks underneath radiators,
- The thermostat cut off marks being much higher than normal,
- Boiler switching off and restarting each time you turn your heating on,
- A loud hissing sound each time you switch on your heating system,
So it is important that as a homeowner, you take time to inspect your radiator caps and make sure they are in a good condition.
Final Thoughts
Radiator valve caps are important as they are designed to keep air out of the pipes so that your heating flows smoothly throughout your house.
If this is not done, it can lead to issues with corrosion, leaks and boiling water at each turn-on of the heating.
To ensure you have a heating system that works efficiently and smoothly all year round, make sure you check your radiator valve caps and replace them if needed.
If you’re unsure how to do this, it is recommended that you contact a professional heating engineer who can help with this process when necessary.